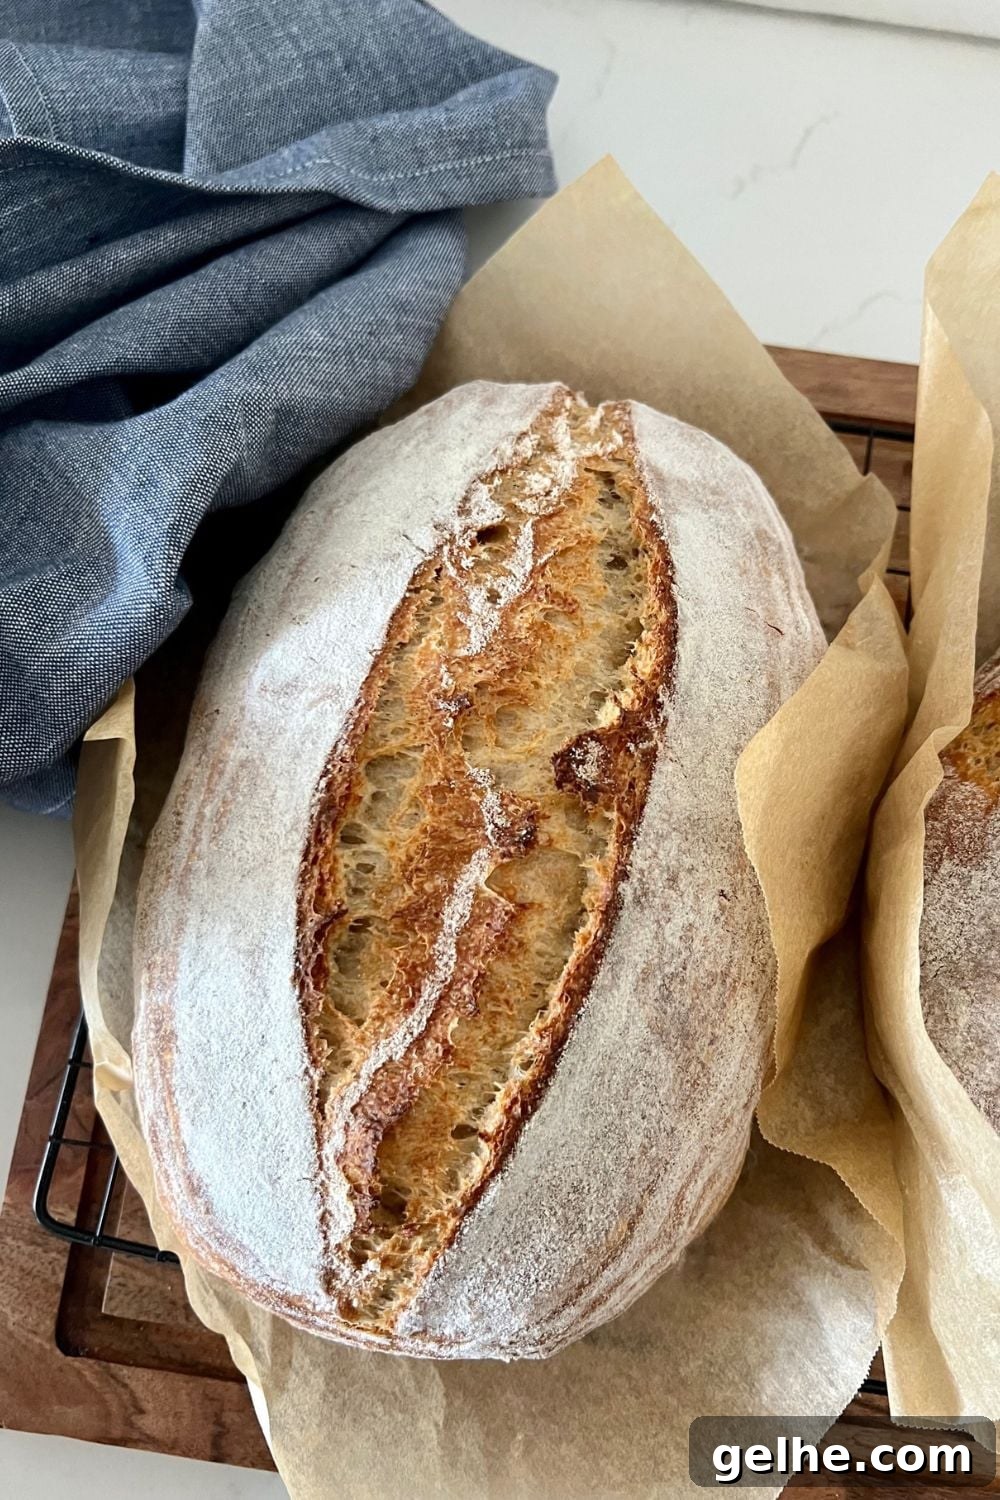
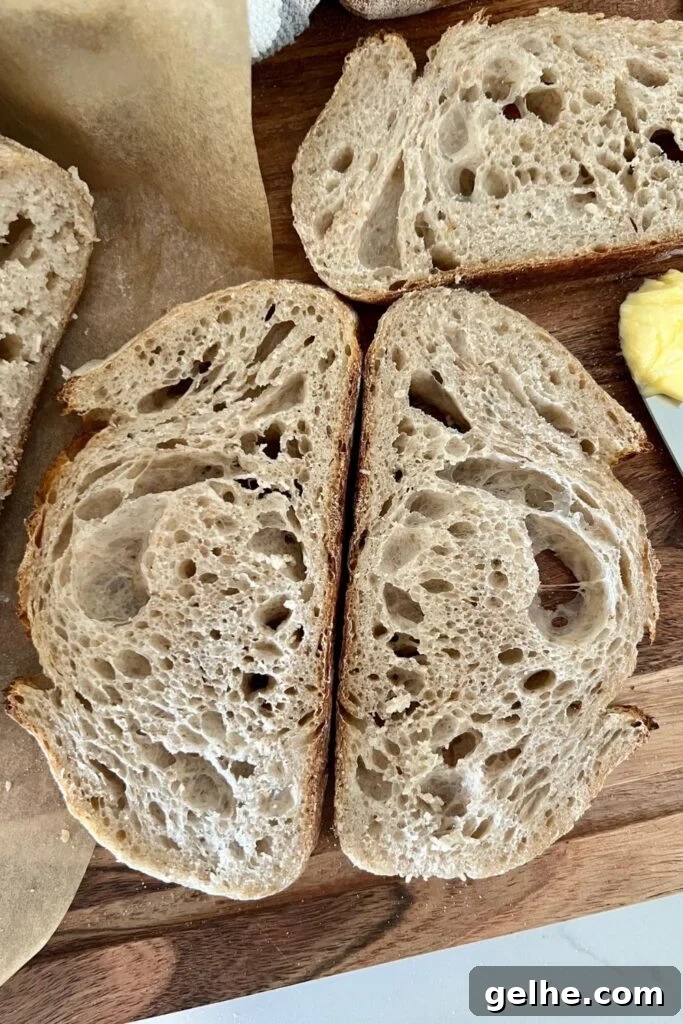
This rustic sourdough recipe uses a simple no-knead method to produce a crusty loaf ideal for any kitchen table. The combination of a crunchy crust and a soft, chewy crumb makes this loaf one you’ll bake again and again.
You will need an active sourdough starter to make this recipe successfully. The recipe uses a mix of bread flour and whole wheat flour for a more rustic flavor and color, though you can use only bread flour if you prefer a lighter crumb.
This loaf is intentionally low-effort: after the initial mixing the method is hands-off, which makes it a great choice for beginners and for bakers who want a straightforward sourdough process without constant attention.
What Is Rustic Sourdough Bread?
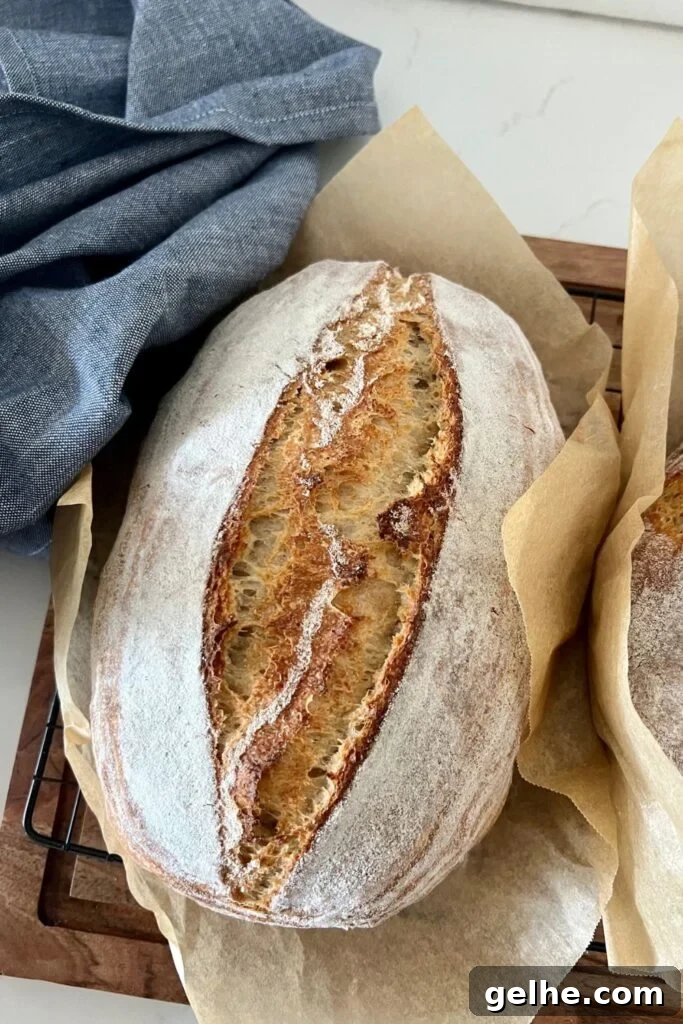
Rustic sourdough describes a farmhouse-style loaf made with simple, natural ingredients and wild yeast. The goal is flavor and texture rather than ornate appearance. A rustic loaf typically has a blistered, deeply flavored crust and an open, chewy crumb that pairs beautifully with butter or savory toppings. A single confident score down the center is all you need to guide the loaf as it bakes.
By definition, a rustic sourdough is a lean bread with no additives, but the dough also welcomes additions like seeds, herbs, or grains if you want to experiment with flavors and texture.
Active Starter and Why It Matters
Use an active starter that has been recently fed and is bubbly for best results. The starter should be at its peak when you mix it with the flour, water, and salt. This is especially important in a no-knead, hands-off formula because the dough relies on fermentation rather than mechanical work to develop structure and rise.
Do I Have To Use Whole Wheat Flour?
This recipe calls for a 50/50 mix of bread flour and whole wheat flour to lend a rustic color, flavor, and stronger crust. You may substitute whole grain spelt for whole wheat for a deeper, nuttier profile. Using only bread flour is fine if you prefer a paler, more open crumb. I do not recommend all-purpose flour for this loaf, as higher-protein flours perform better in sourdough baking.
Whole grain flours add fiber and nutrients and enhance the overall nutrition of the loaf compared with refined flours.
Is a Dutch Oven Essential?
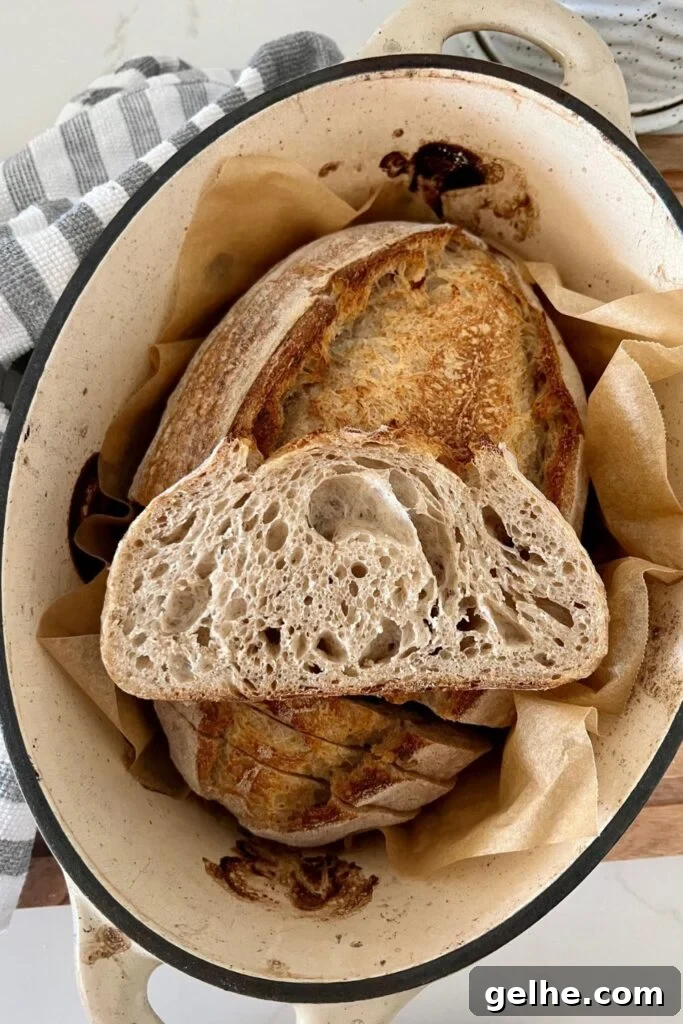
A Dutch oven is not essential but it helps create the moist environment that produces a crisp, glossy crust and strong oven spring. If you don’t have a Dutch oven, you can bake on a preheated baking stone or pizza stone, or use an open baking sheet and introduce steam to the oven for the first part of the bake.
How to Make Rustic Sourdough Bread (Step-by-Step)
This step-by-step guide outlines the process at a glance. Full details and quantities are provided in the recipe section below. The method is beginner-friendly and also useful for experienced bakers who want a simple, reliable loaf.
Autolyse
Weigh the sourdough starter and water into a large bowl and mix briefly to dissolve the starter. Add the flours and salt, and combine with a spoon or Danish dough whisk until just incorporated. The dough will be shaggy and slightly sticky. Cover with plastic or a damp towel and rest for about one hour. This hydration period (autolyse) allows the flour—especially whole wheat—to absorb water and develop gluten more easily.
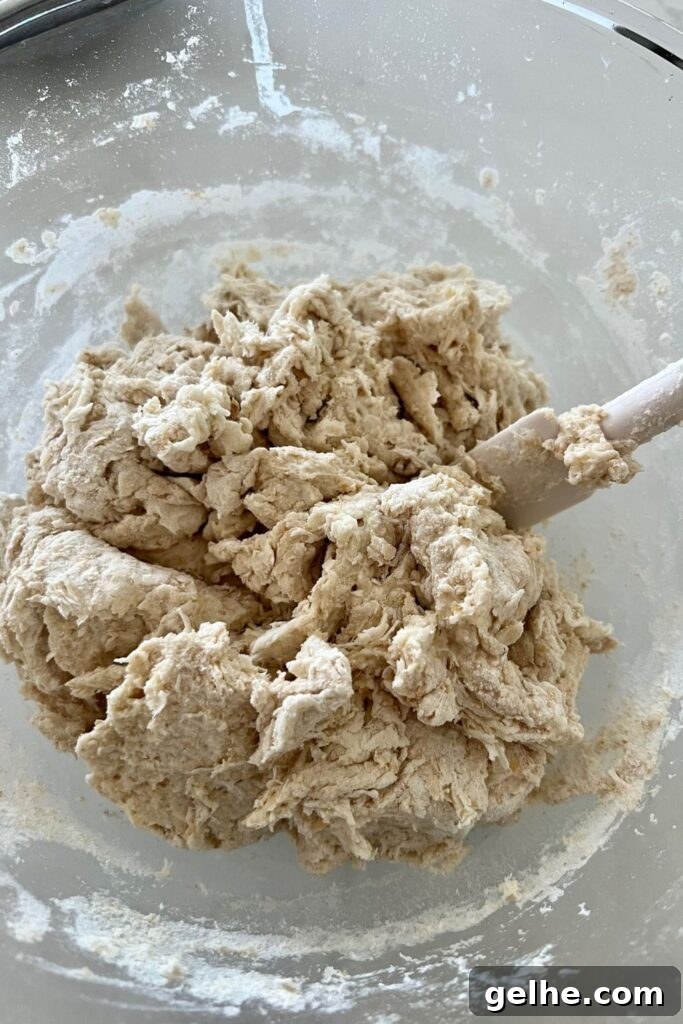
Forming the Dough
After autolyse, gather the dough into a smooth ball. Working around the bowl, lift and fold the dough toward the center until it forms a cohesive, slightly glossy ball—about 20–25 folds. Cover and let rest.
Stretch & Folds (Optional)
For improved strength, perform 4–6 sets of stretch-and-folds across roughly two hours. Each set consists of stretching the dough up and folding it over itself 4 times, with about 15 minutes between sets. This step is optional for a rustic no-knead loaf; the bread will still develop if you skip it and allow a longer bulk ferment.
Bulk Fermentation
After any stretch-and-folds, cover the dough and let it bulk ferment at room temperature until it has nearly doubled and shows large bubbles beneath the surface. Fermentation time will vary depending on room temperature and starter activity; warmer kitchens shorten the time, and colder ones lengthen it.
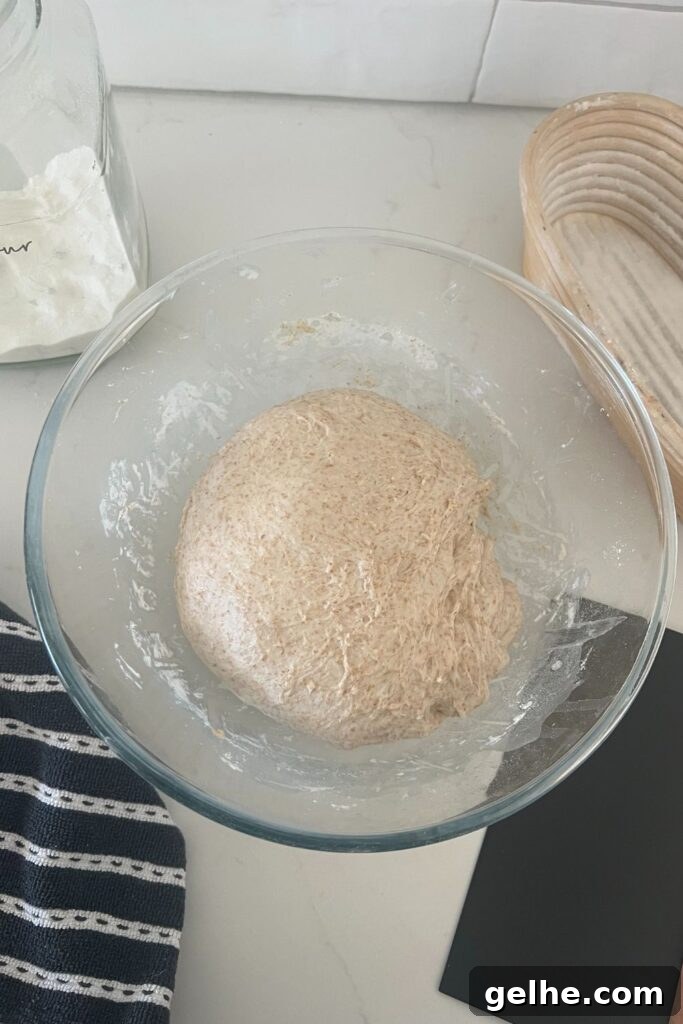
Shaping
Lightly dust your work surface with rice flour (it’s non-glutenous and prevents sticking). Turn the dough out so the smooth top is down and the seam is up. Shape gently to build surface tension—many bakers prefer a batard. Place the shaped dough in a banneton seam-side up (or in a bowl lined with a floured tea towel). Dust with a little extra rice flour for a rustic finish if desired. Handle the dough gently to preserve the gas pockets formed during fermentation.
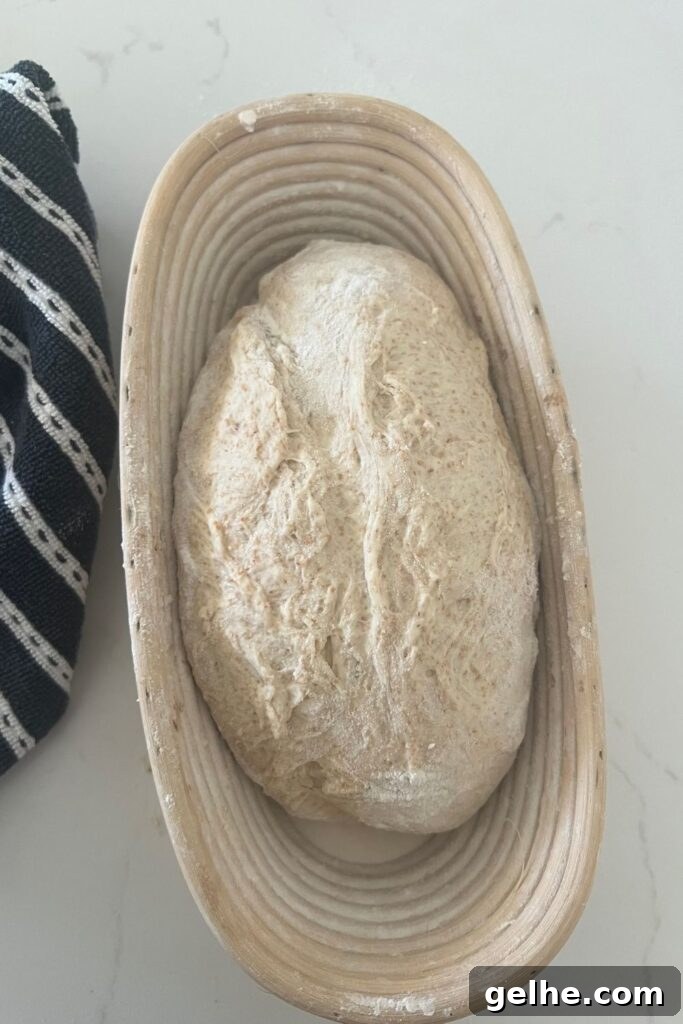
Cold Ferment
Cover the proofing basket loosely and refrigerate. A cold ferment of at least 5 hours and up to 36 hours improves flavor and creates blisters on the crust. Longer cold proofing deepens sourdough character and firms the dough surface, making scoring easier.
Preparing to Bake
Preheat the oven to 230°C / 450°F with the Dutch oven or baking stone inside. Preheat for about an hour for the best oven spring. Keep the dough in the fridge until you are ready to bake—placing cold dough into a hot vessel helps maximize rise.
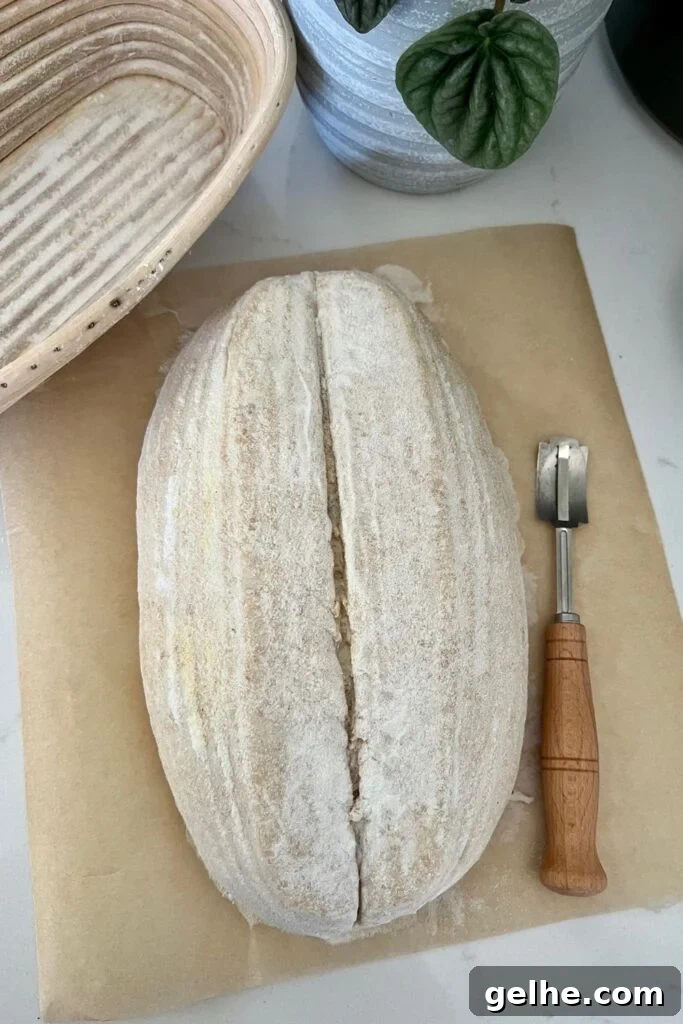
Baking
When the oven is ready, transfer the chilled dough to a sheet of parchment. Score the top with a sharp blade—a simple central slash works well for a rustic look. Carefully lower the dough, on the parchment, into the hot Dutch oven and cover. Optionally spritz the dough with water before closing the lid for extra crust shine.
Bake Time:
- 30 minutes with the lid on at 230°C / 450°F
- 10–15 minutes with the lid off at 210°C / 410°F
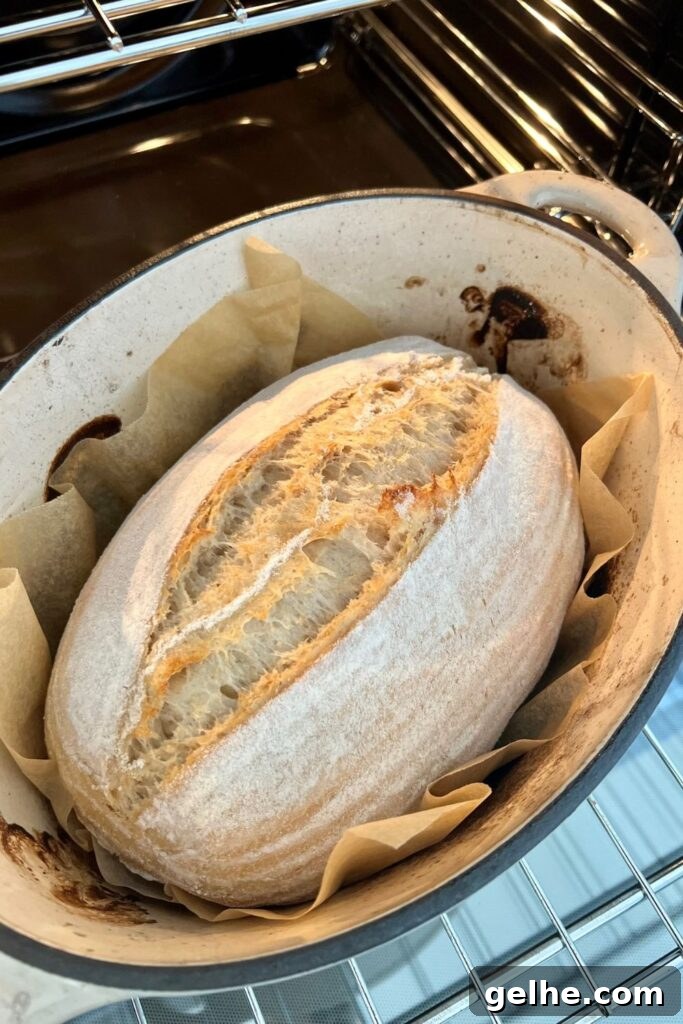
Finishing
Remove the loaf from the Dutch oven as soon as it is cool enough to handle and place on a wire rack to cool. For a slightly softer crust, wrap the loaf in a clean tea towel while it cools to trap some steam. Allow the bread to rest at least 90 minutes before slicing; longer resting (several hours) improves the crumb and flavor, especially in high-hydration or rye-containing loaves.
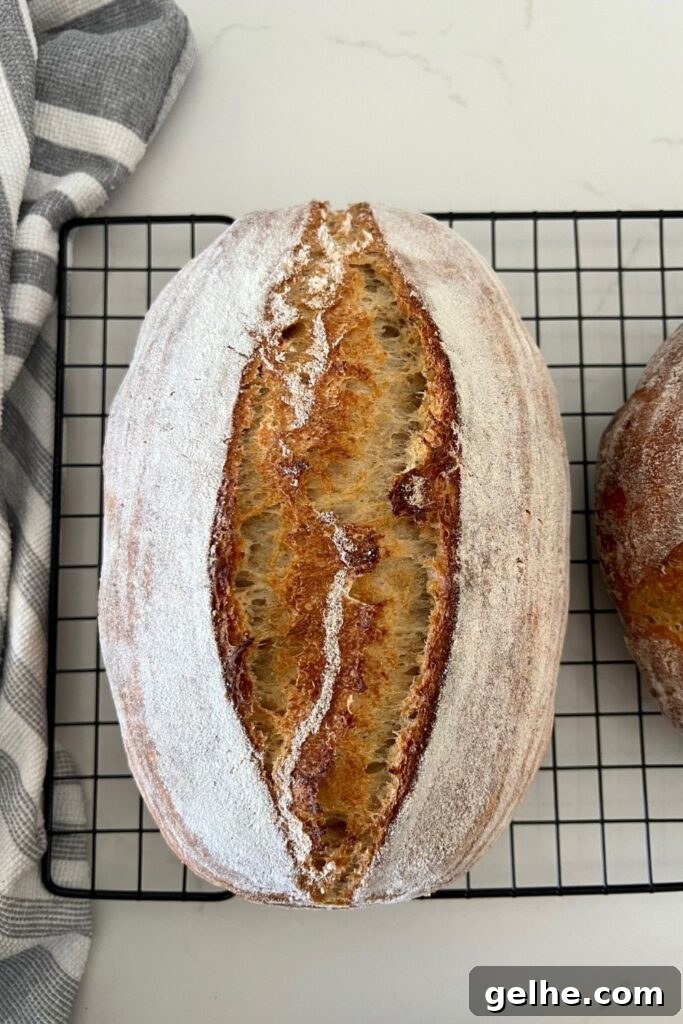
Mixing in a Stand Mixer
You can mix this dough in a stand mixer using the dough hook. Start by bringing the dough together, let it rest, then run the mixer briefly to develop some strength. This recipe does not require intensive mechanical kneading—minimal mixing followed by fermentation is usually sufficient.
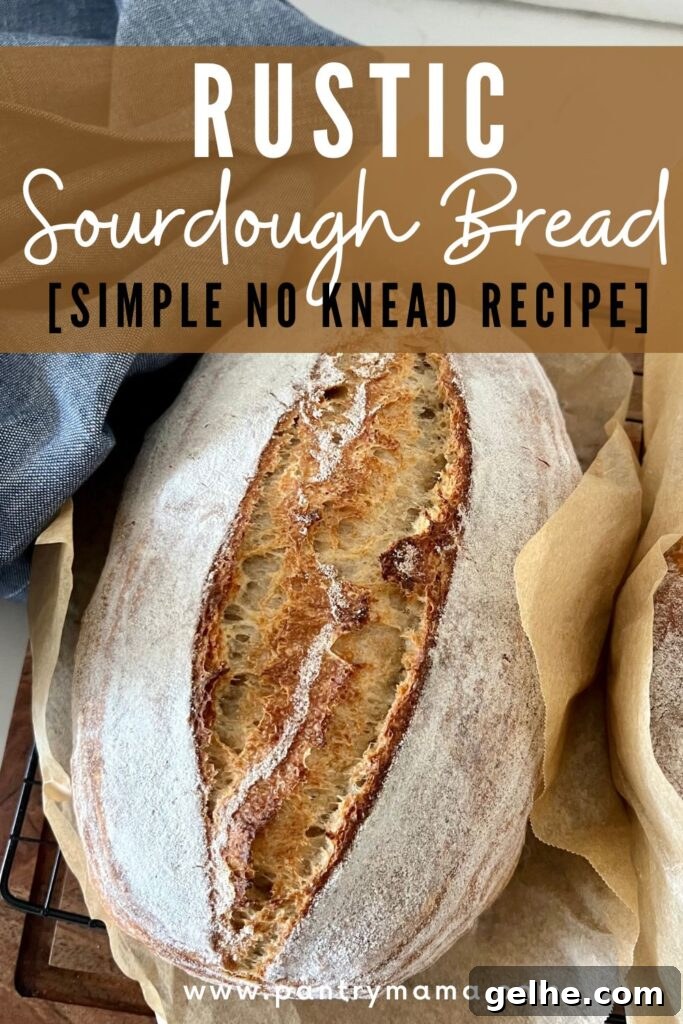
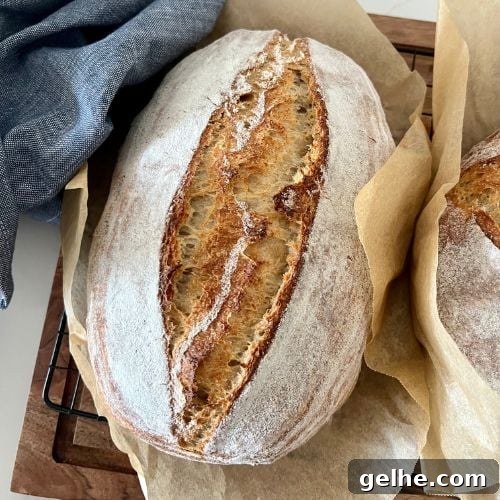
Rustic Sourdough Bread Recipe
Equipment
- Mixing bowl
- Digital scales
- Banneton or lined bowl
- Dutch oven or baking stone
Ingredients
- 100 g sourdough starter, fed and bubbly
- 250 g bread flour
- 250 g whole wheat flour (or whole grain spelt flour)
- 315 g water (add a splash if dough seems too dry)
- 10 g salt
Instructions
- Autolyse: Combine starter and water in a large bowl. Stir briefly, then add flours and salt and mix until just combined. Cover and rest for about 1 hour so the flour hydrates.
- Form the dough: After autolyse, gather the dough into a smooth ball by stretching and folding the edges toward the center until it becomes cohesive and slightly glossy. Cover and rest.
- Stretch & Folds (optional): For added strength, perform 4–6 sets of stretches and folds over about 2 hours—each set consists of 4 stretches with 15 minutes between sets. This step may be skipped for a truly hands-off loaf.
- Bulk ferment: Cover and let the dough bulk ferment at room temperature until it has nearly doubled and shows air bubbles. Timing varies with temperature and starter activity.
- Shape: Lightly dust the work surface with rice flour and turn the dough out seam-side up. Shape to build surface tension, then place seam-side up in a banneton or bowl lined with a floured tea towel. Dust with a little rice flour for a rustic finish if desired.
- Cold ferment: Cover loosely and refrigerate for 5–36 hours. Longer cold proofing enhances flavor and crust development.
- Preheat: Preheat the oven to 230°C / 450°F with the Dutch oven or baking stone inside for about an hour.
- Bake: Transfer chilled dough to parchment, score the top, and lower into the hot Dutch oven. Bake 30 minutes covered at 230°C / 450°F, then remove the lid and bake 10–15 minutes at 210°C / 410°F until deeply browned and crisp.
- Cool: Remove the loaf from the oven and cool on a wire rack. Wait at least 90 minutes before slicing to allow the crumb to set; longer resting improves flavor.
Notes
Flour: A 50/50 mix of bread and whole wheat flour gives a rustic color and flavor. Substitute spelt for whole wheat if you prefer. Avoid all-purpose flour for best structure.
Bulk fermentation: Warmer kitchens speed fermentation; cooler kitchens slow it. If you want to slow fermentation, reduce the starter amount. The dough is higher hydration and will ferment fairly quickly.
Baking tips: For a less crusty loaf, wrap the cooled bread in a tea towel. If you suspect the loaf is underbaked, turn off the oven and leave the loaf on the oven rack with the door ajar to finish cooling gradually.
Rest before slicing: Wait at least 90 minutes before cutting the loaf; for high-hydration or rye-containing doughs, waiting several hours often yields a better crumb and flavor.
Nutrition
Nutrition information is automatically calculated and should be used as an approximation.
Enjoy baking this rustic sourdough and feel free to adapt the flours and fermentation times to suit your taste and schedule.