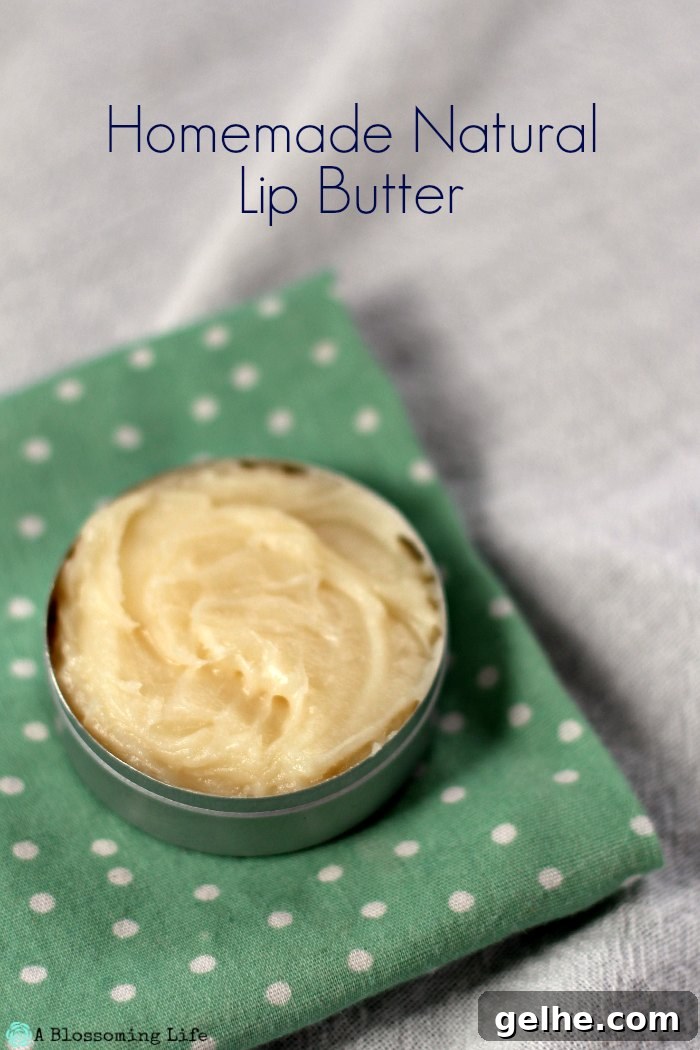
It’s been a little while since we shared a DIY beauty project. With cold weather here, chapped lips become an all-too-familiar nuisance. This simple, homemade natural lip butter soothes, protects, and restores moisture using a handful of wholesome ingredients you can trust. It’s quick to make, customizable, and a great alternative to many commercial balms that contain unnecessary additives.
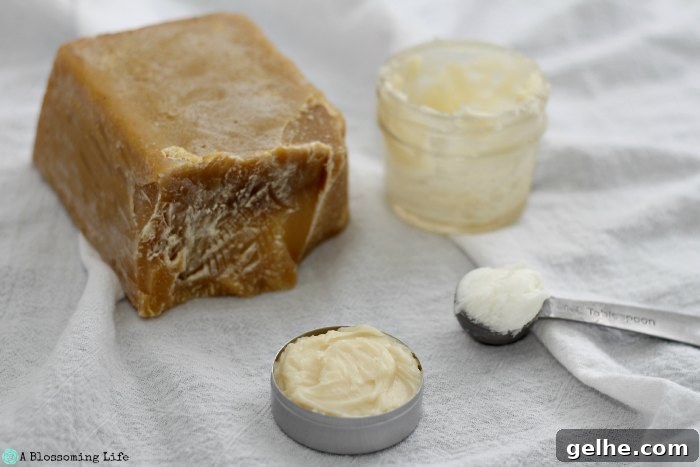
Homemade Natural Lip Balm
Ingredients
- 2 Tbs Extra virgin coconut oil
- 1/2 Tbs Shea butter
- 1 Tbs Grated beeswax
- 10 drops Vitamin E oil (optional)
- 5–10 drops Essential oil (optional, such as peppermint or lavender)
Instructions
- Place the coconut oil, shea butter, and grated beeswax in a heatproof glass jar or small glass dish.
- Melt the mixture gently using a double boiler or by setting the glass container in a saucepan with a few inches of simmering water. Stir occasionally until fully melted and combined.
- Remove from heat and allow the mixture to cool slightly but not harden. At this point, stir in vitamin E oil and your chosen essential oil(s) if using. Adjust the essential oil amount to your preference, keeping in mind sensitive lips should receive a low concentration.
- Pour or spoon the warm mixture into clean lip balm containers, tins, or small jars. Let it cool completely at room temperature until fully set, then secure lids.
Notes
For tinted balm, add a tiny pinch of natural powdered pigment or a few drops of natural food coloring and mix well before the mixture sets. Start with a very small amount—the tint should be subtle unless you prefer more color.
Why these ingredients work
Coconut oil provides light, fast-absorbing moisture and has a pleasant, mild scent. Shea butter adds a richer, more creamy texture and helps condition the delicate skin on the lips. Beeswax creates a protective barrier that seals in moisture and gives the balm a smooth finish that lasts longer on the lips. Vitamin E oil is an optional antioxidant that can support skin healing and extend shelf life slightly. Essential oils are optional and should be used sparingly; they add fragrance and, depending on the oil, can offer a cooling or calming sensation.
Tips and variations
- If you prefer a firmer balm, increase the beeswax slightly. For a softer balm, add a little more coconut oil or reduce the beeswax.
- Use raw or unrefined shea butter for a creamier texture and more natural scent, or refined shea if you want a neutral fragrance.
- Choose mild essential oils for lip products—peppermint, sweet orange, lavender, or a gentle vanilla extract can be pleasant. Avoid harsh or phototoxic oils if you plan to be in the sun.
- To make a DIY gloss-like finish, add a small additional amount of liquid oil (like fractionated coconut oil or a light jojoba oil) but note this will reduce staying power.
Storage and shelf life
Store your lip butter in a cool, dry place away from direct sunlight. Kept in sealed containers, it should remain good for several months. If you notice any off smell, discoloration, or separation, discard it and make a fresh batch. Refrigeration can extend shelf life but is not required.
Safety and allergy notes
Always perform a patch test if you have sensitive skin or known allergies to coconut, beeswax, or shea butter. If using essential oils, dilute them and test a small amount on skin away from the mouth first. Avoid introducing water or contaminated utensils into the product to prevent microbial growth.
That’s it—short, simple, and effective. This homemade natural lip butter is a small project that yields a nourishing everyday product. Make a few jars for yourself, or prepare small tins as thoughtful, handmade gifts. Hope you have a fabulous weekend and enjoy soft, protected lips all season long.