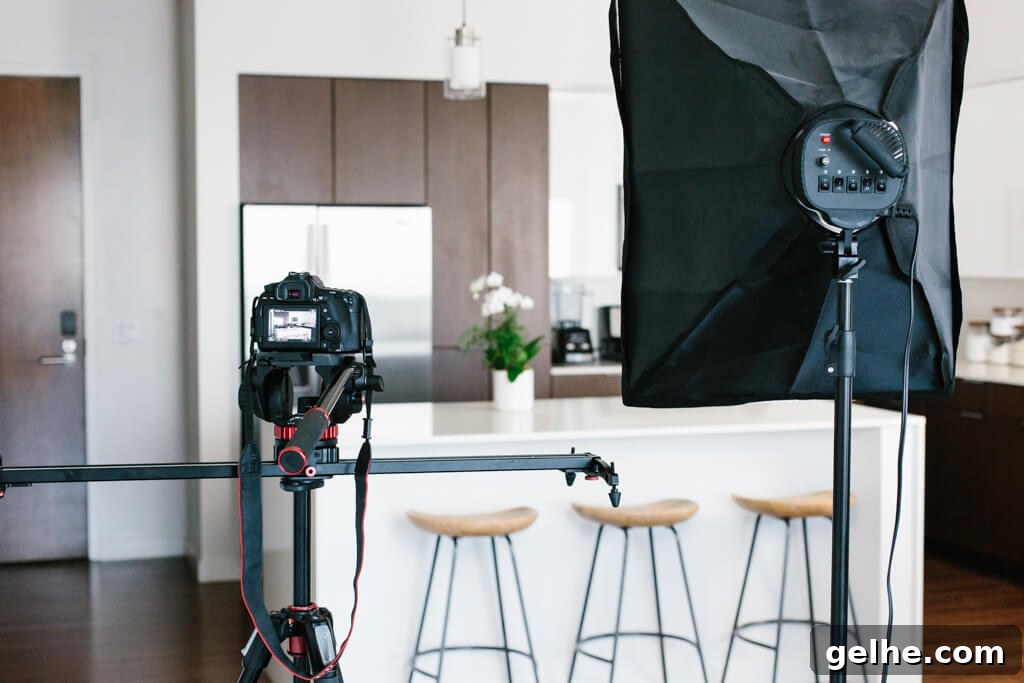
As a food blogger and YouTuber, I’ve filmed countless recipe and cooking videos. Many readers and viewers ask about the food videography gear and equipment I use, so here’s a clear overview of my setup and process.
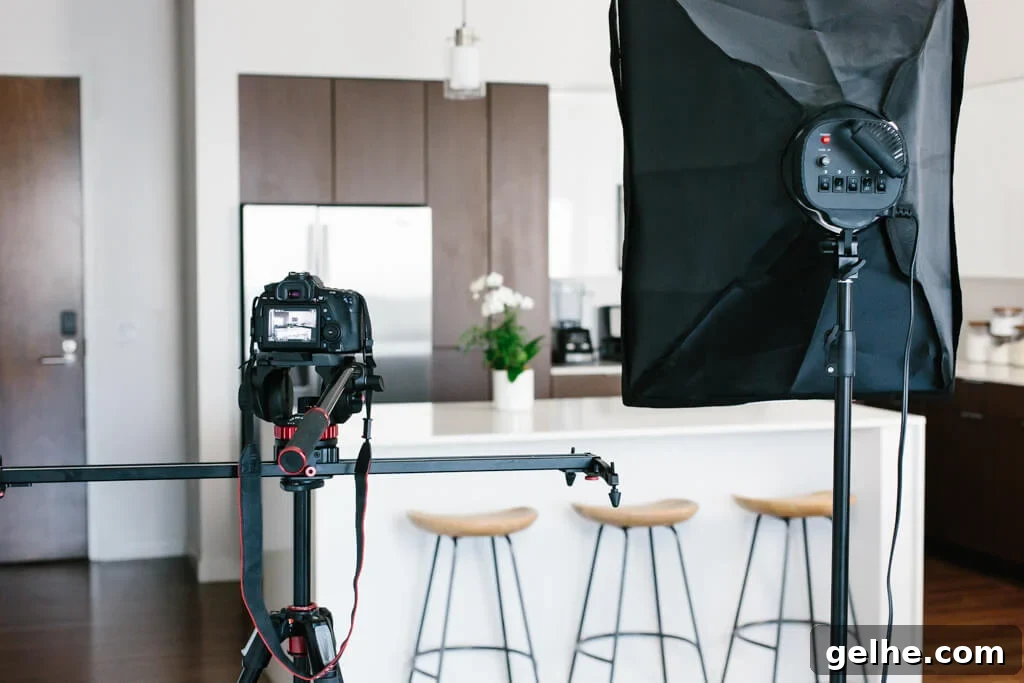
Every week I receive questions from aspiring food bloggers and YouTubers about the camera gear behind my weekly cooking videos. I also speak about producing mouthwatering food videos at events, so sharing my equipment and approach felt useful. I’ve been creating videos for my YouTube channel for over a year now, and while I’m still learning, I’ve settled into a reliable workflow.
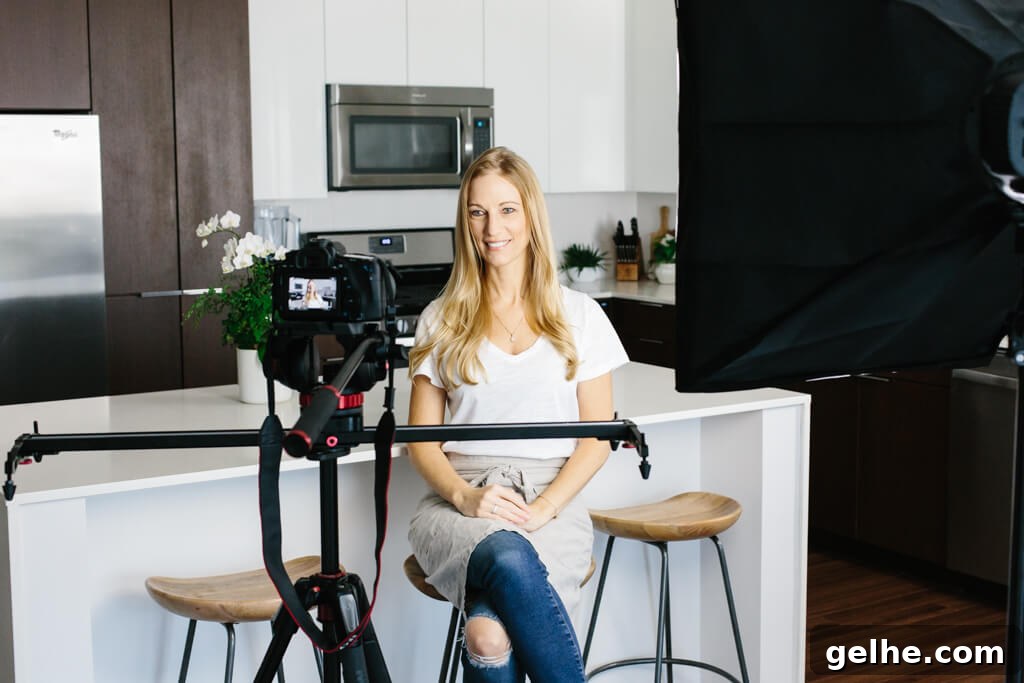
I film hosted, cook-along style videos in my kitchen rather than overhead, Tasty-style clips. That choice was deliberate: overhead videos are great for quick social shares, but my priority is building a community. Having a real person on camera makes it easier for viewers to connect and engage.
My style requires more work since I handle filming, editing, and on-camera hosting solo — but it’s entirely achievable. Below is the gear I regularly use in my camera bag and kitchen studio.
My Camera
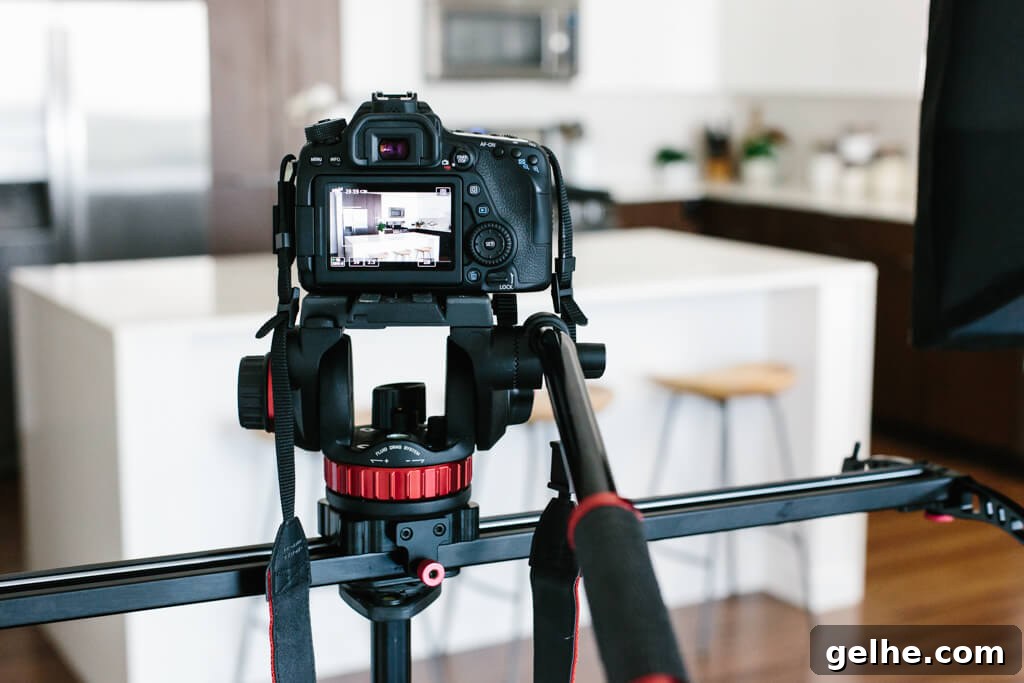
I began shooting with a Canon Mark III in a makeshift basement studio. It’s a strong full-frame camera, but it lacked a flip screen and modern touch autofocus with facial tracking — features that make solo hosting much easier. For that reason I switched to the Canon 80D. It offers a flip screen and better autofocus, and it’s a popular choice among YouTubers.
I’ve been shooting with the 80D for several months and like it, though being an APS-C sensor (not full-frame) makes framing tighter. It took a bit of time to adjust settings and composition, but the camera delivers consistently good results for hosted cooking videos.
My Lens
I primarily use the Canon 24-70mm f/2.8 L series lens. I prefer it over primes because the zoom range lets me adjust framing without moving the tripod, and the glass renders a pleasing softness that flatters on-camera appearances. If I had assistants to manage focus and framing, I might use primes more, but the 24-70mm is versatile and reliable for solo shoots.
My Video Head
For video I use a dedicated video head rather than a photography ball head. A fluid video head provides smooth panning and a built-in counterbalance, which helps keep shots steady and professional. My setup includes a Manfrotto 502-style video head for consistent, smooth movement.
My Tripod
I use a Manfrotto MT190XPRO3 aluminum tripod. It’s sturdy and affordable, and while it has a center column that can flip horizontal, I usually shoot straight on and keep the column vertical. The tripod’s stability is important when supporting heavier lenses and the video head.
My Slider
I added a compact track slider after seeing smooth panning shots in other YouTubers’ videos. A slider delivers subtle, cinematic movement that adds production value — you can see it used in some of my recipe and pantry videos. It’s not essential, but it’s a nice-to-have tool for variety in your shots.
My Lights
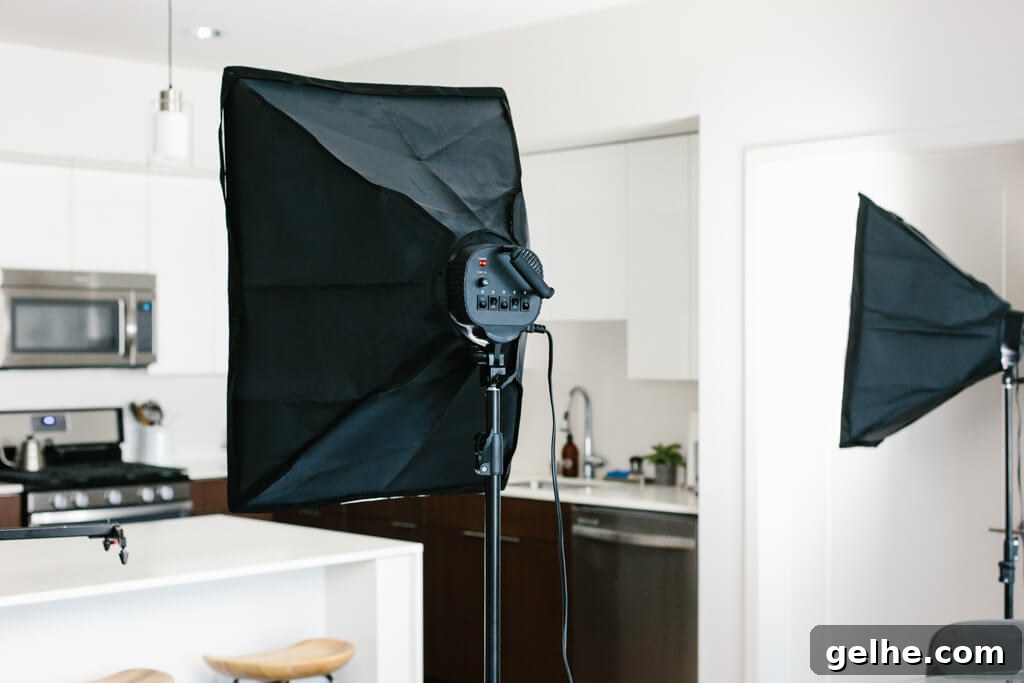
I started with natural window light, which is ideal for food work, but my current kitchen has no windows and I avoid overhead fixtures because they cast unflattering shadows. Instead I use softbox studio lights to create even, flattering illumination. I place one light directly in front and another at about a 45-degree angle to shape the scene. These softboxes provide consistent daylight-balanced light and help create a bright, clear look on camera.
My Microphone and Recorder
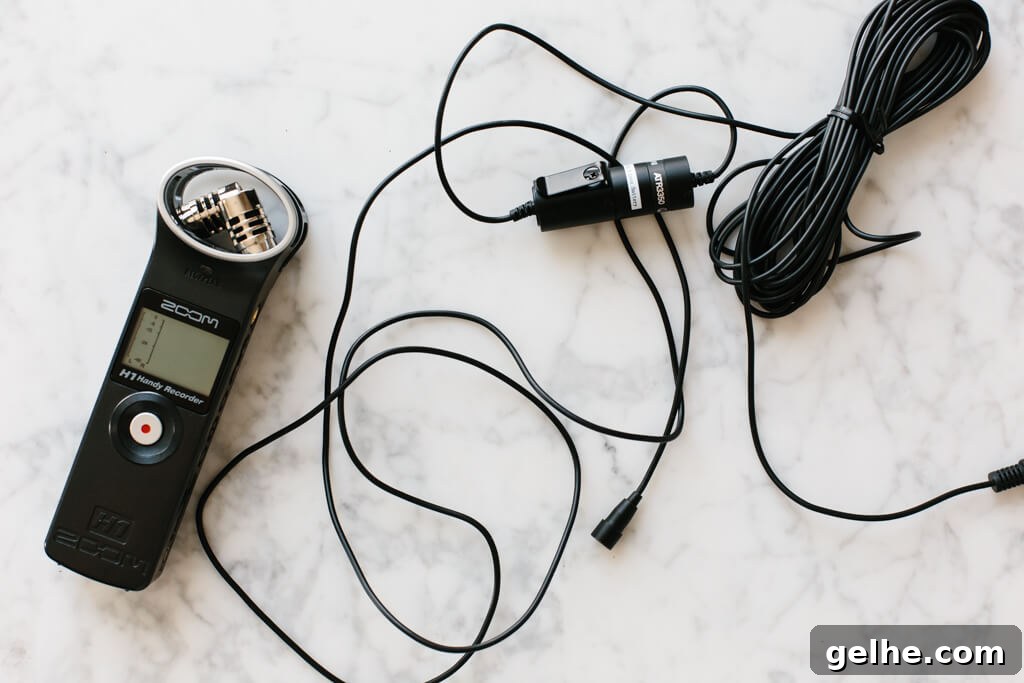
Audio is critical for hosted videos — poor sound will quickly lose viewers. The internal camera mic is usually insufficient, so I record audio separately with a lavalier microphone and a portable recorder. I clip a discreet lav mic to my clothing or tape it under my top to keep it out of frame. Recording to a dedicated device allows me to replace the camera’s audio with a clean track during editing.
Food Videography Tips & FAQs
What do you use to edit? I edit in Adobe Premiere Pro.
What are your camera settings? Settings vary by time of day and scene, but my intro is often shot at f/2.8, cooking segments around f/3.5, ISO typically between 320–500, shutter speed at 1/50 and frame rate at 23.98 fps for a cinematic feel.
How do you get different camera angles? I move the camera between shots frequently. Solo filming requires lots of repositioning to capture varied angles and keep the sequence engaging.
Do you color grade? I perform basic correction and adjustments in Premiere Pro — exposure, contrast, shadows, vibrance, and sharpness. I shoot with a neutral picture profile so the footage is relatively flat and easy to tweak; I avoid over-saturated looks.
Do you shoot overhead videos? Not currently. After finishing a full-length YouTube edit, I often create a shorter 45–60 second version cropped for social platforms.
What SD card do you use? Video files take up a lot of space, so I use high-capacity, fast cards such as a 64GB SanDisk Extreme Pro.
Any other tips? Always carry extra batteries for camera and audio gear — video drains batteries quickly. For music, licensed libraries with subscription access work well for YouTube. Use tools that help manage your channel and analytics, and most importantly, enjoy the process; you’ll improve with practice and consistency.
To see all my videos and stay updated, make sure to subscribe to my YouTube channel.